Cyber Shot Sony Camera Digital
A practical step-by-step guide to cyber shot sony camera digital, including preparation, instructions, common issues, tips, and next steps.
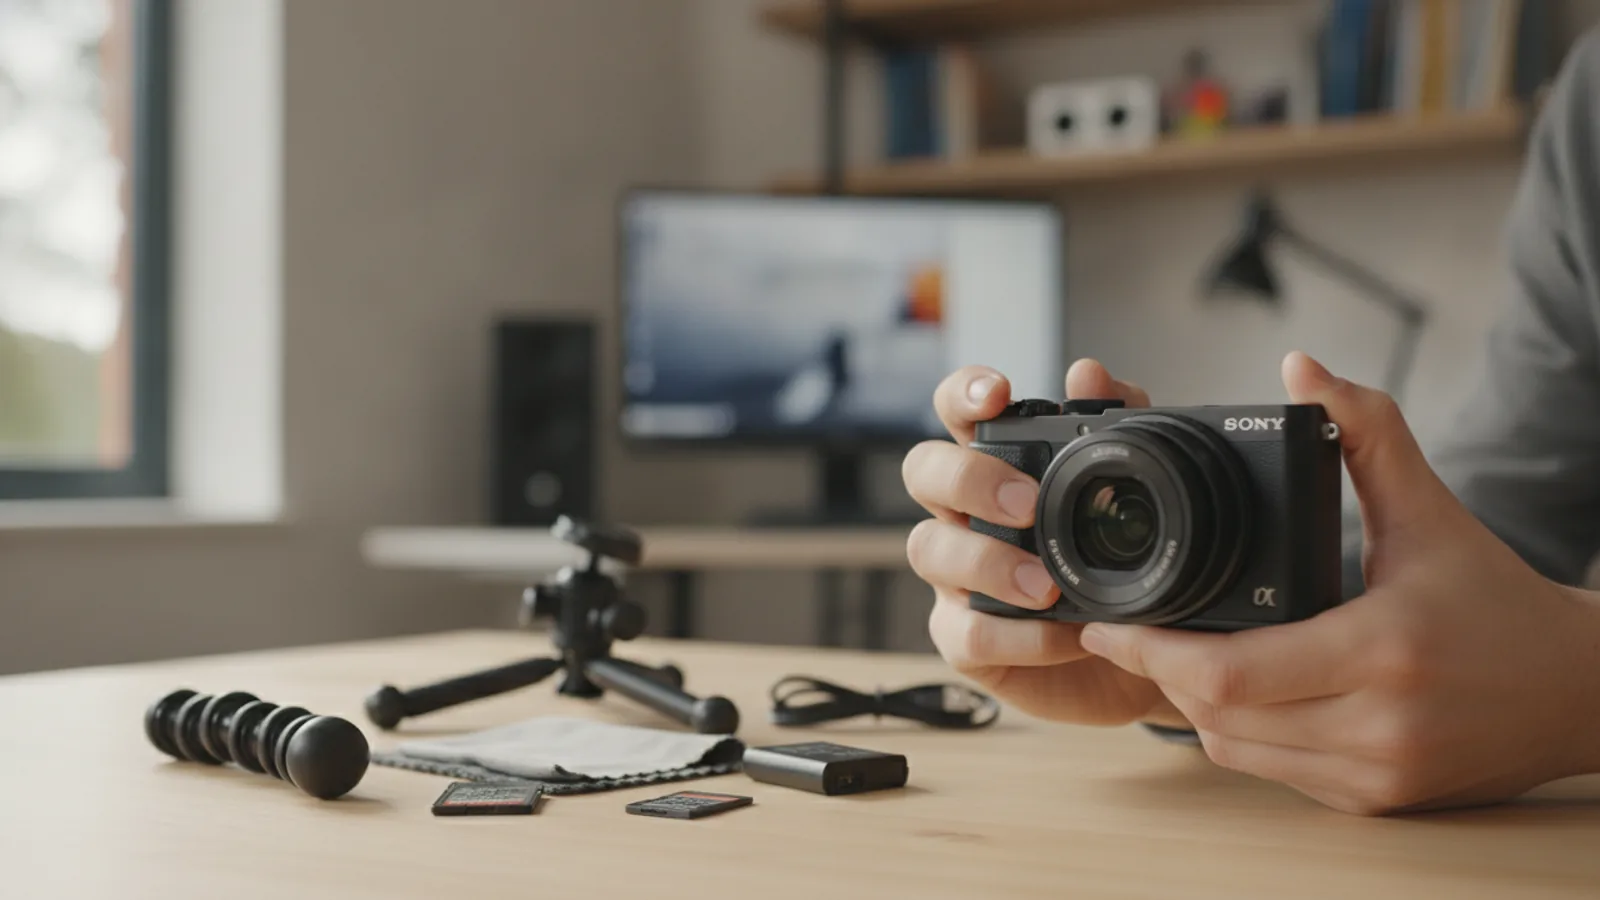
Cyber Shot Sony Camera Digital
This guide provides a complete walkthrough for using your Sony Cyber-shot digital camera. Whether you've just unboxed your device or want to move beyond basic point-and-shoot, we'll cover everything from initial setup and charging to taking clear photos and understanding essential settings. This tutorial is designed for beginners who want to get the most out of their camera without getting lost in technical jargon. Follow these steps to start capturing great memories today.
Fast Answer
- Easiest Shooting Mode: Set the mode dial or menu to Intelligent Auto (iA), often marked with a green camera icon.
- Taking a Photo: Press the shutter button halfway down to focus, then press it fully to capture the image.
Before You Start
Gathering these items first will ensure a smooth and uninterrupted setup process. Having a compatible memory card and a fully charged battery is essential before you begin shooting.
- Your Sony Cyber-shot camera
- The camera's rechargeable battery pack
- A compatible memory card (e.g., SD, SDHC, or Memory Stick PRO Duo, depending on your model)
- The USB cable and AC adapter that came with your camera
- A microfiber cloth for cleaning the lens (optional but recommended)
Step-by-Step Instructions
Charge and Insert the Battery
Your camera cannot function without power. Locate the battery compartment, which is usually on the bottom of the camera. Slide the latch to open the door. Before inserting the battery, note the orientation of the metal contacts on both the battery and inside the compartment. Align them correctly and gently slide the battery in. Most models have a small latch that will click into place to secure it.
To charge, you can typically connect the supplied USB cable to the camera and plug the other end into the AC adapter or a computer. A charging light (often orange or yellow) will illuminate while charging and will turn off or change color when the battery is full. A full charge can take 2-3 hours.
Insert the Memory Card
The memory card is where your photos are stored. The card slot is often located inside the same compartment as the battery. Look for a diagram near the slot indicating the correct orientation for the card. The corner of the card is usually "cut" on one side to prevent incorrect insertion.
Slide the memory card into the slot until you hear or feel a soft click. This means it is locked in place. To remove it, gently push the card in again, and it will pop out slightly, allowing you to pull it out. Close the compartment door securely.
Power On and Complete the Initial Setup
Press the Power button, usually located on the top of the camera. The first time you turn it on, the camera will likely launch a setup wizard. You will be prompted to set the language, date, and time. It is very important to set these correctly, as this information is saved with every photo you take (this is called EXIF data). This data helps you organize your photos by date later on.
Use the camera's multi-selector (the directional pad or wheel on the back) to navigate the menus and the center button to confirm your selections. Once the setup is complete, the camera will switch to shooting mode, and you will see a live view of what the lens sees on the LCD screen.
Learn the Basic Controls
Familiarize yourself with the key buttons on your Cyber-shot camera. While placement varies slightly between models, these controls are nearly universal:
- Shutter Button: The most important button, located on top. Press it halfway down to activate the autofocus and auto-exposure. A green box will appear on the screen to show what is in focus. Press it all the way down to take the picture.
- Zoom Lever: Usually a ring around the shutter button or a toggle on the back. Push it towards 'T' (Telephoto) to zoom in and 'W' (Wide) to zoom out.
- Mode Dial: A physical dial on top of many models that lets you switch between shooting modes like Auto, Program, Scene, and Movie. If there's no dial, there will be a 'Mode' button to access these settings on the screen.
- Playback Button: Marked with a "play" symbol (a right-facing triangle). Press this to review the photos and videos you've taken.
- Multi-Selector / Control Wheel: The circular pad or wheel on the back of the camera used for navigating menus and often for quick access to settings like flash, self-timer, and display information.
Select a Shooting Mode
For beginners, the best place to start is an automatic mode. This lets the camera handle all the complicated settings like aperture, shutter speed, and ISO for you.
- Intelligent Auto (iA or green camera icon): This is the smartest auto mode. The camera analyzes the scene and automatically chooses the best settings. For example, it can detect if you're shooting a landscape, a portrait, or a close-up (macro) shot and adjust accordingly. This is the recommended mode for everyday shooting.
- Program Auto (P): This mode also sets the exposure automatically, but it gives you control over other settings like white balance, ISO, and flash mode. It's a great next step after you're comfortable with full auto.
- Scene (SCN): This mode lets you choose from a list of presets for specific situations like Portrait, Landscape, Sports, or Night Scene. The camera then uses optimized settings for that scenario.
Use the mode dial or mode button to select Intelligent Auto to begin.
Frame, Focus, and Capture Your Photo
Look at the LCD screen to compose your image. Think about the rule of thirds: imagine a tic-tac-toe grid over your screen and place your main subject on one of the intersecting lines for a more dynamic composition. Use the zoom lever to get closer to your subject or to fit more into the frame.
Once you have framed your shot, aim the central focus area over your main subject and gently press the shutter button halfway down. You will likely hear a beep, and a green box or set of brackets will appear on the screen, confirming that focus is locked. While holding the shutter button halfway, you can even slightly reframe your shot before taking the picture.
To capture the image, smoothly press the shutter button the rest of the way down. Hold the camera as steady as possible during this process to prevent blur. Use two hands for better stability: one to hold the grip and the other to support the lens or camera body from underneath.
Review and Manage Your Photos
After taking a picture, the camera will usually display it on the screen for a few seconds. To review your photos at any time, press the Playback button. You can navigate through your images using the left and right directions on the multi-selector.
To see more detail, use the zoom lever to magnify the image. This is useful for checking if your subject is perfectly in focus. To delete an image you don't want, navigate to it and press the button marked with a trash can icon. The camera will ask for confirmation to prevent accidental deletion.
Transfer Your Photos to a Computer
When you're ready to save, edit, or share your pictures, you need to transfer them to a computer. There are two primary methods:
- Using a USB Cable: Turn off your camera. Connect the small end of the USB cable to the port on your camera (it may be under a rubber flap). Connect the other end to a USB port on your computer. Turn the camera on. Your computer should recognize it as a removable drive, allowing you to copy the photo files from the camera's memory card to your computer's hard drive.
- Using a Memory Card Reader: Turn off the camera, remove the memory card, and insert it into a compatible card reader connected to your computer. This method is often faster and doesn't drain your camera's battery. The card will appear as a drive on your computer, and you can drag and drop the files. Your photos will be in a folder named something like 'DCIM'.
Quick Reference
When you're ready to move beyond full Auto mode, use this table to choose the right setting for your situation.
| Situation | Use This Setting | Why It Works |
|---|---|---|
| Taking a photo of a person (portrait) | Portrait Scene Mode (SCN) | The camera uses a wider aperture to softly blur the background, making the person stand out. It also optimizes skin tones. |
| Shooting a wide scenic view | Landscape Scene Mode (SCN) | It boosts greens and blues for more vibrant colors and uses settings that keep everything from the foreground to the background sharp. |
| Capturing a fast-moving subject | Sports Scene Mode (SCN) | The camera prioritizes a fast shutter speed to "freeze" the action, reducing motion blur for crisp shots of kids, pets, or sports. |
| Shooting indoors or at night without flash | Hand-held Twilight (SCN) or High ISO | The camera increases its sensitivity to light, allowing it to capture an image in dark conditions without the harshness of a direct flash. |
| Taking a picture of yourself with a group | Self-Timer Drive Mode | This mode creates a delay (usually 2 or 10 seconds) between when you press the shutter and when the photo is taken, giving you time to get into the shot. |
Common Problems When You Use a Cyber Shot Sony Camera Digital
Even with great technology, you can run into issues. Here are fixes for some of the most common problems new users face.
Why are my photos blurry?
Blurry photos are usually caused by one of three things: camera shake, subject motion, or incorrect focus.
- Camera Shake: If the entire photo is slightly blurred, it's likely your hands moved while the shutter was open. Solution: Hold the camera with both hands and brace your elbows against your body. In low light, try to rest the camera on a stable surface like a table or wall.
- Subject Motion: If your background is sharp but your subject (like a running child) is blurry, they moved too fast for the camera's settings. Solution: Switch to the 'Sports' scene mode, which uses a faster shutter speed to freeze motion.
- Incorrect Focus: If a different part of the photo is sharp but your main subject isn't, the camera focused on the wrong thing. Solution: Make sure the green focus box is directly over your subject when you half-press the shutter.
Why are my photos too dark or too bright?
This is an exposure problem. The camera's automatic meter can sometimes be fooled by scenes with very bright areas (like a sunny sky) or very dark areas.
Solution: The easiest fix is to use Exposure Compensation. Look for a button with a [+/-] icon. Press it, and a scale will appear on the screen. Move the indicator to the '+' side to make the next photo brighter, or to the '-' side to make it darker. This is a quick way to manually override the camera's automatic choice.
My battery seems to drain very quickly. What can I do?
Digital camera batteries can drain faster than you expect, especially with heavy use of certain features.
- LCD Screen: The screen is the biggest power draw. Lower its brightness in the camera's settings menu.
- Power Saving: Enable the 'Auto Power Off' or 'Power Save' feature in the settings. This will automatically turn the camera off after a few minutes of inactivity.
- Reviewing Photos: Constantly reviewing and zooming in on photos uses a lot of power. Wait until you transfer them to a computer to do heavy review.
- Carry a Spare: The best solution for a long day of shooting is to carry a second, fully charged battery.
Advanced Tips for Cyber Shot Sony Camera Digital
Once you've mastered the basics, try these techniques to gain more creative control over your images.
- Control White Balance (WB): Your camera's Auto White Balance (AWB) does a good job guessing the correct colors, but sometimes it gets it wrong, leaving photos with a blue or orange tint. In the settings menu, find the White Balance options. Instead of 'Auto', try selecting a preset that matches your light source, like 'Daylight', 'Cloudy', or 'Incandescent' for indoor lighting. This will give you much more accurate and consistent colors.
- Understand ISO: ISO measures the camera sensor's sensitivity to light. A low ISO like 100 or 200 gives the highest quality image with the least grain, perfect for bright, sunny days. In low light, you can increase the ISO to 800, 1600, or higher to get a shot without flash. The trade-off is that higher ISO settings introduce digital "noise," which looks like fine graininess in the photo. In Program (P) mode, you can usually set the ISO manually.
- Use Different Drive Modes: Look for a 'Drive Mode' setting. The default is 'Single Shooting', where one press equals one photo. Switch to 'Continuous Shooting' or 'Burst Mode' to take a rapid series of photos by holding down the shutter button. This is fantastic for capturing the perfect moment in an action sequence. You will also find the 'Self-Timer' options here.
- Separate Focus and Recompose: This is a powerful technique. Aim the center of your screen at your subject and half-press the shutter to lock focus. Now, while still holding the button halfway down, move the camera to recompose the shot how you want it (e.g., to place your subject off-center). Once you have the composition you like, press the shutter button all the way down to take the picture.
Cyber Shot Sony Camera Digital FAQ
How do I reset my Sony Cyber-shot camera to its factory settings?
How do I turn the camera's flash off permanently?
What is the difference between optical zoom and digital zoom?
Can I record videos on my Cyber-shot camera?
Final Checklist for Cyber Shot Sony Camera Digital
Before you head out to shoot, run through this quick mental checklist to ensure you're ready to capture great photos.
- The battery is fully charged and a spare is packed if needed.
- A compatible, formatted memory card with plenty of free space is inserted.
- The date and time settings are correct.
- The lens is clean and free of fingerprints or dust.
- The camera is set to the appropriate shooting mode for my situation (start with Intelligent Auto).
- I remember to press the shutter button halfway to focus before pressing it fully to shoot.
- I know how to use the playback button to review my photos and the delete button to remove unwanted shots.